Send an email invitation to a patient, guardian, or guarantor to register for a portal account. This article covers sending portal invites from the Facesheet or Portal Directory.
Invite from Facesheet
You can invite the patient and contacts (guarantor or guardian) added to their chart from the facesheet. The following table breaks down which elements each user role can view.
|
Location |
Patient | Guardian | Guarantor |
| Dashboard | All | All except for preferred name | All except for preferred name |
| My Information | All | All except for except for gender identity | None |
| My Appointments | All | All | None |
| My Documents |
All evaluations and consents shared with them, all outcomes |
All evaluations and consents shared with them, no outcomes | All evaluations and consents shared with them, no outcomes |
| My Treatment Plans | All plans shared with them | All plans shared with them | All plans shared with them |
| My Medications | All | All | None |
| My Files | Upload | Upload | Upload |
| My Account | Yes, for their own information | Yes, for their own information | Yes, for their own information |
|
Messages (if enabled) |
Can send messages to and receive messages from available EMR users | Can send messages to and receive messages from available EMR users | Can send messages to and receive messages from available EMR users |
-
Open the Patient Chart and confirm the patient has an email address on file in the Information tab.
-
Click the Invite to Portal.
-
Ensure the email is correct, then click Yes.
- You’ll receive an alert at the top of the patient facesheet until the invitation is accepted by the patient. The patient portal invite expires at 72 hours.
-
The process for inviting the contact is the same. Simply scroll down to the Contacts section of the facesheet and click Invite to Portal.
-
Only contacts with the Relationship of Guarantor or Guardian can be invited to the portal.
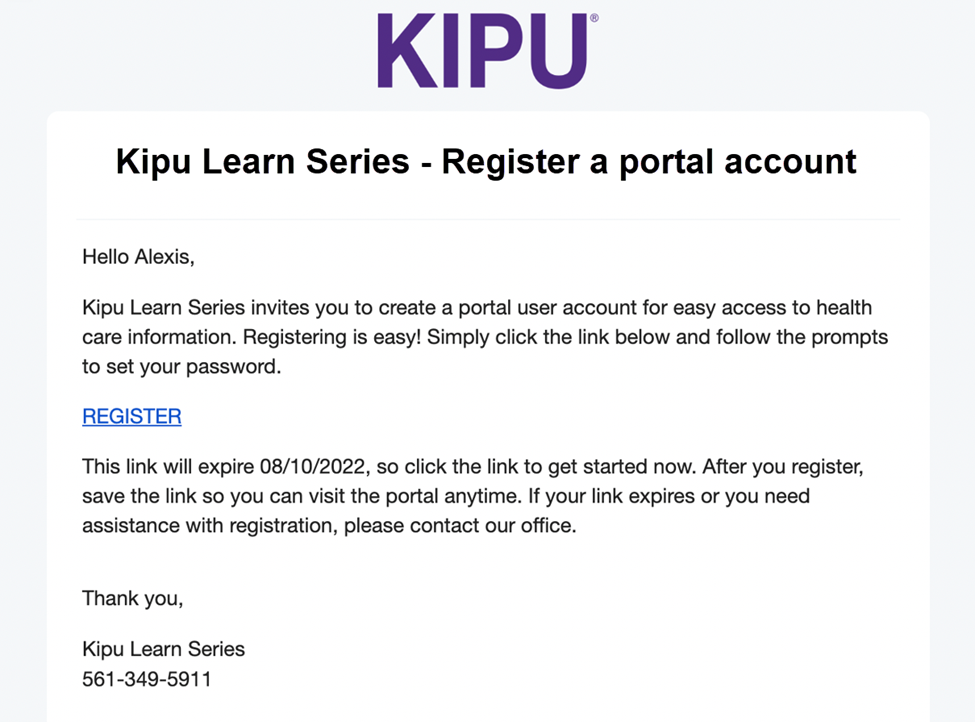
Email Invite Example
The patient/contact will receive an email branded with your company name, logo, and phone number. The patient portal invite expires at 72 hours.
Comments
0 comments
Please sign in to leave a comment.